Hi,
Recently I got a chance to have my interview published with https://80.lv/
I am sharing it here also as it might be useful for anyone interested in creating real-time environments with Unity3d.
Here is the link for the original article. https://80.lv/articles/003qxl-environment-production-with-unity-megascans/
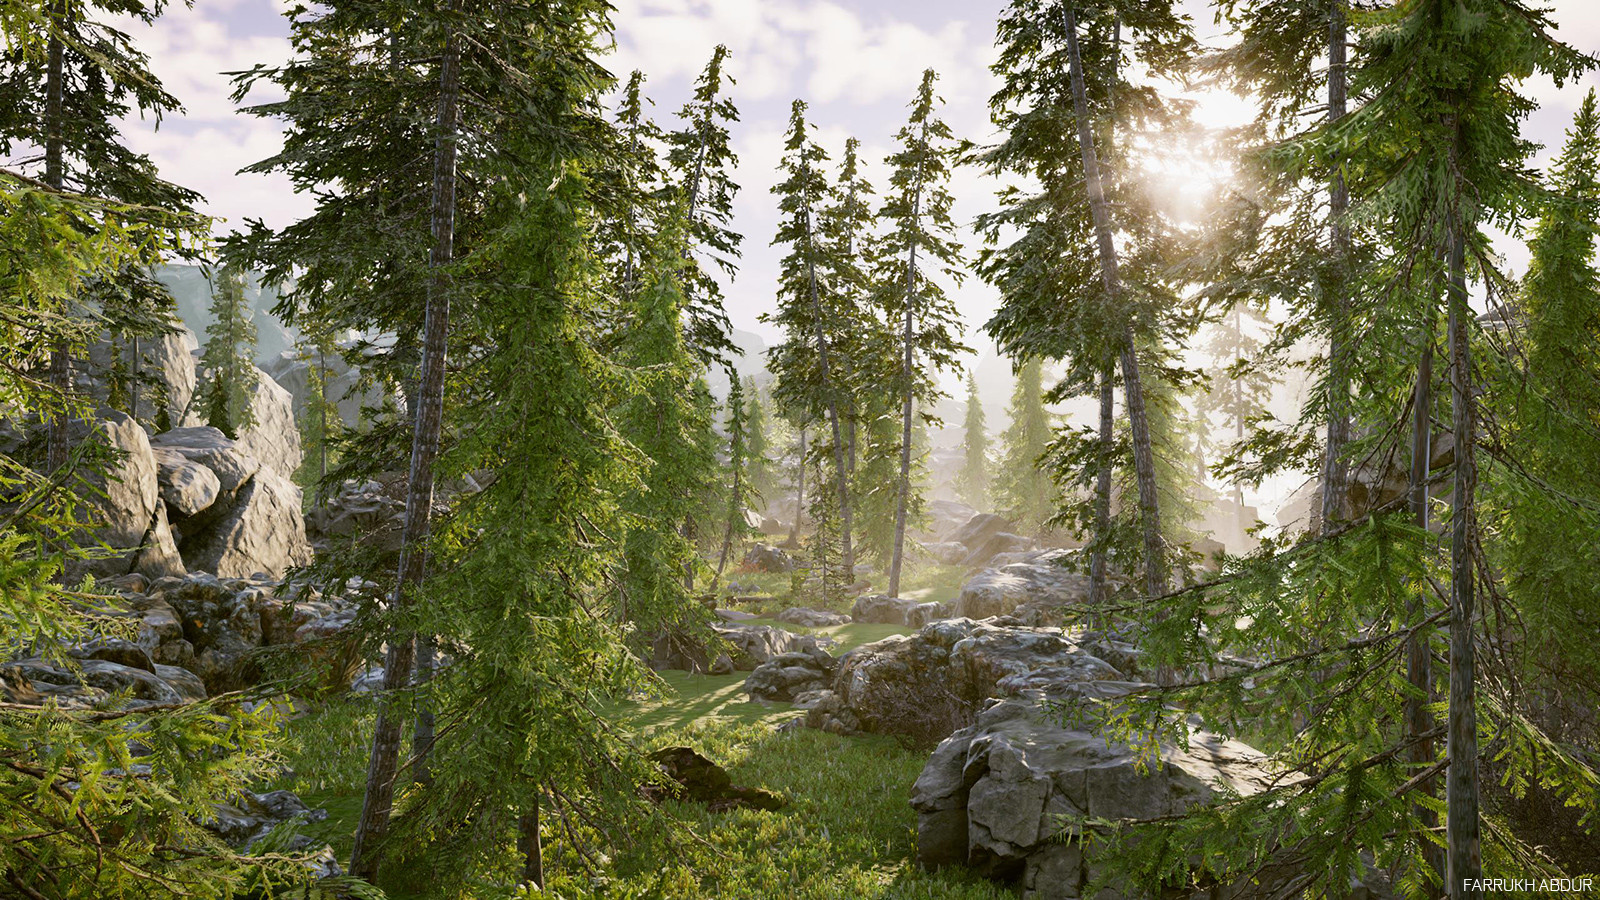
The project work discussed was this Unity forest scene that I did some time back.
Project Goals
This forest environment was designed to try to make a fast and efficient environment in a small amount of time. Another goal was to learn new features of Unity such as advanced lighting, shading and most importantly Megascans integration. The main restriction was to set a time frame of only 3-4 days to create a portion of a detailed real-time ready to use environment.
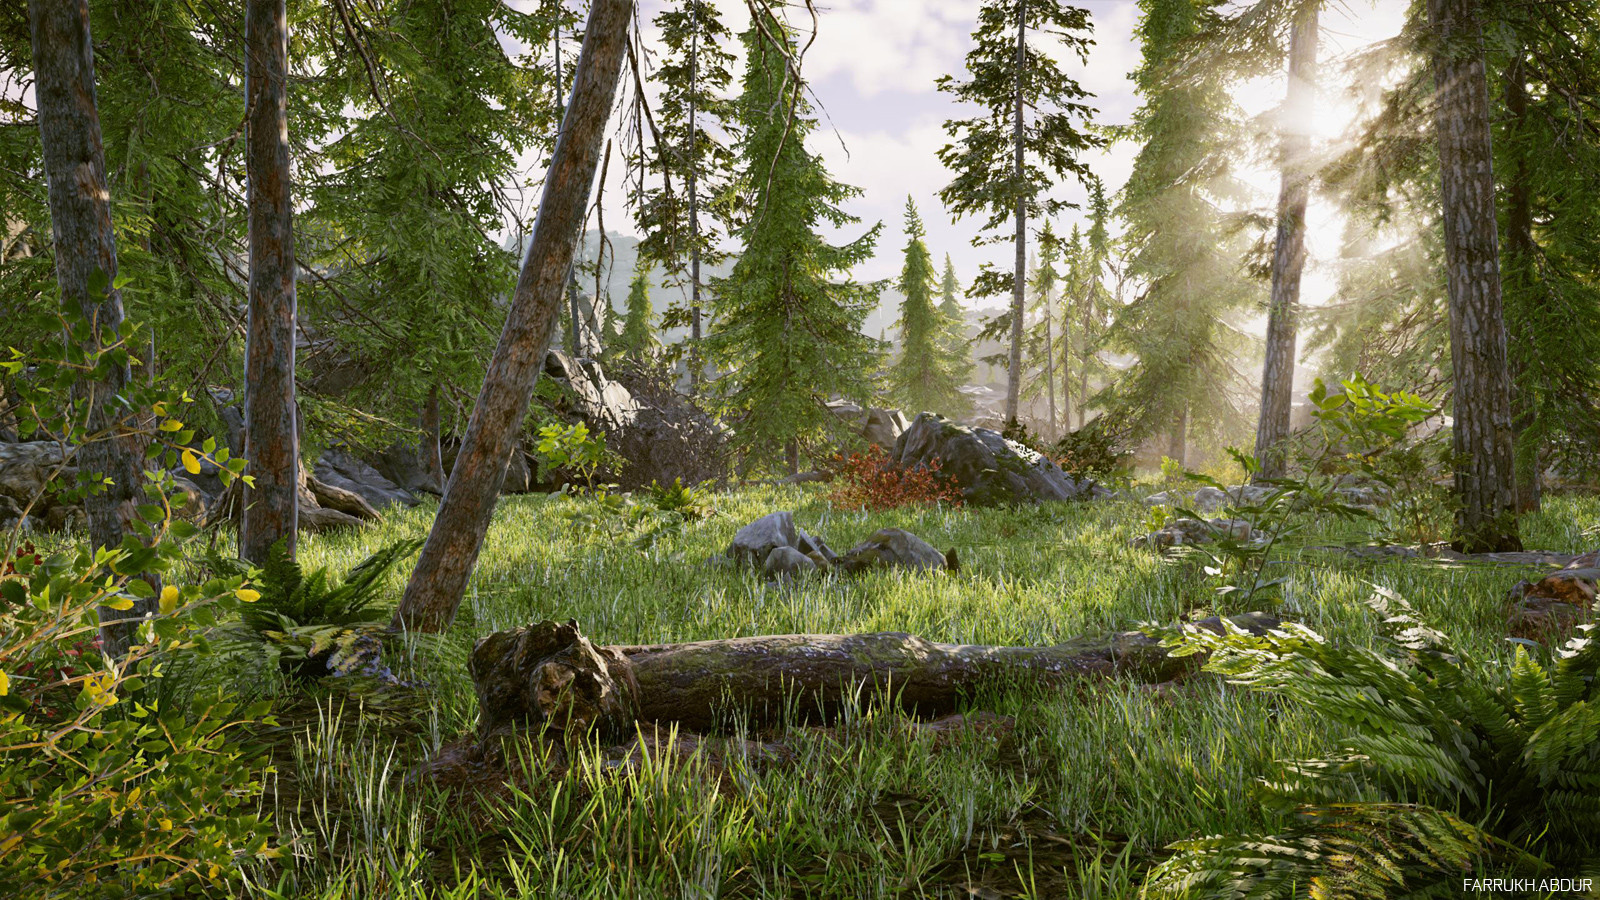
Real-Time Unity3d Screenshot
Setting Up a Scene in Unity
The project was made in Unity3d using the HDRP preset. Setting up the environment is quite easy. I started with a clean empty scene using the HDRP default settings and build upon it. It includes support for better lighting and shaders.

To figure out how big the environment was going to be I placed a default Unity standard asset 3D character and compared how big the surrounding area will be. Placing the character helps to keep size scale useful.

Another good approach is to collect some good references for a forest and similar places. This will give a better idea of how trees, foliage, and other details exist in real-world. The colors and lighting can be also studied from here.
Here is a reference guide that I used:
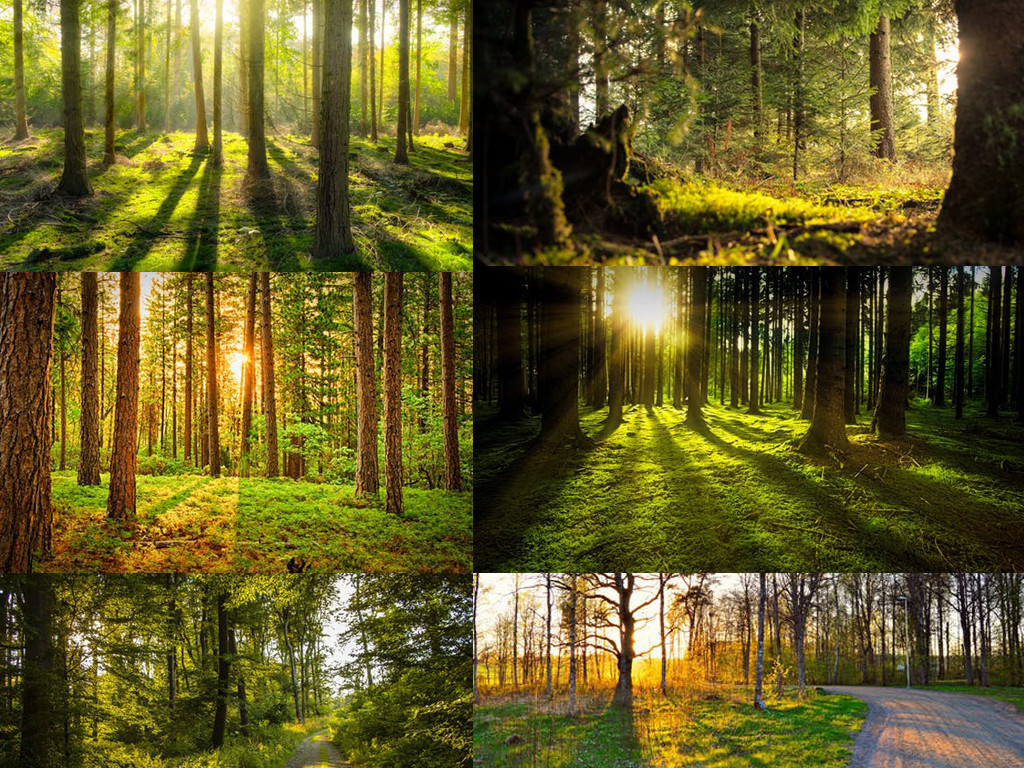
Next step, I would make a list of main elements that are going to be needed. I bring in most of the 3D assets in the new empty level and place them on the side. This way I know about the 3D models that I will be using. Also, many of the 3D assets are reused in different ways using scale and rotation properties.

I create a model pool outside of the playing area. All are linked as prefabs so changes are reflected across the entire level if needed.
The image below is a view of starting with a simple plane and then building upon it.

Using Megascans was very helpful in creating a detailed and realistic result. They offer some nice collection of free assets so anyone can give it a try and see the quality they offer.
Textures can go up to 8K if needed. However, here I used mostly around 2k. Here are some 3D assets I used:

Quixel helps not only with models but materials, too, and there’s a huge collection of great-looking materials available.
The new Quixel Megascans Mixer app is very useful if custom materials need to be created. I would recommend it to anyone looking to easily create high-quality materials.
Some of the materials used.

Most of the rocks are from Megascans. They come at five different levels of LOD. I have used 3 different types of rocks.

The models used here are optimized and already have associated textures. The 3D meshes which are further away from the camera view use a low poly LOD as compared to the meshes which are closer and show much more details.

Ready-Made Vegetation
The trees are from Unity Asset Store, as there is already a great collection of trees available there. For learning purposes, I looked at Unity’s new Book of the Dead project to learn tree setup. They have some of the best trees which are highly optimized and make use of custom vertex shaders which allow animation of branches. All trees are with 4 level LODs which again benefit the performance.

Grass
The grass uses the new Unity engine material which supports advance shading like surface scattering.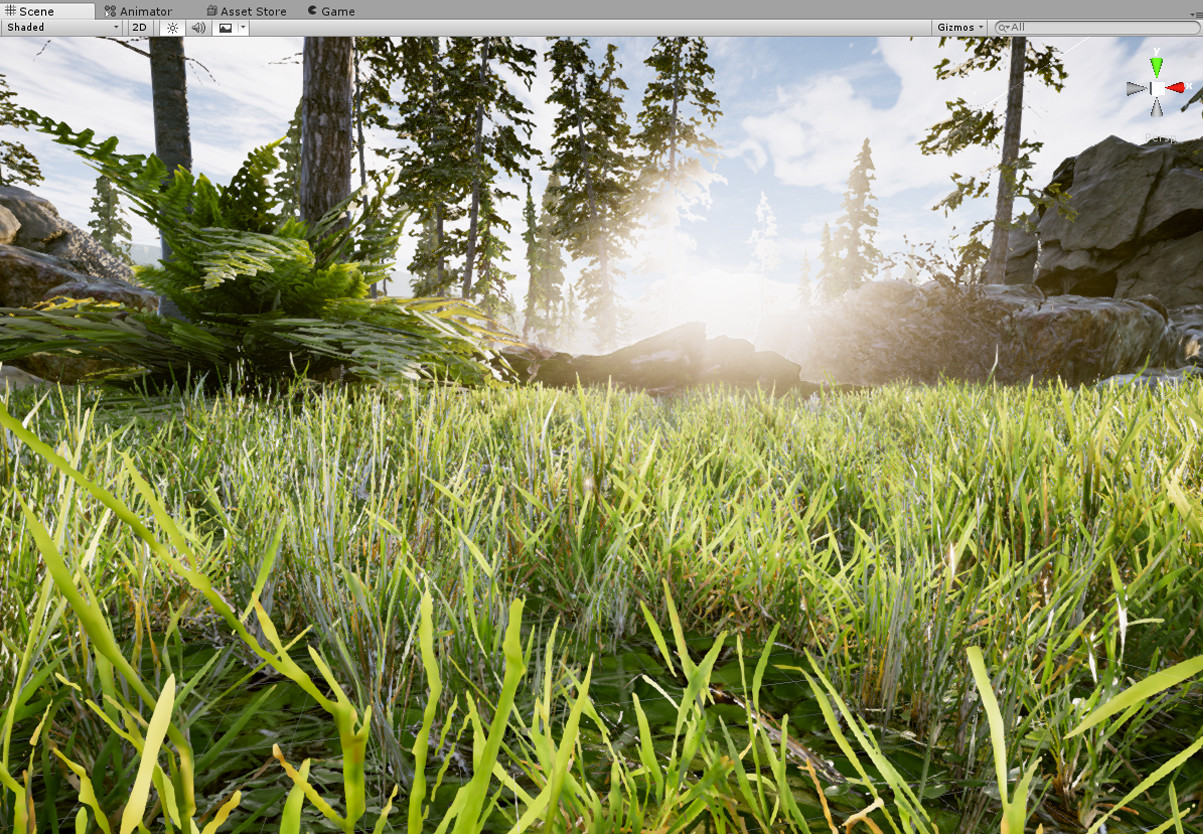
Overview of a single grass base cloned two times with different scale rotation:

With the help of scattering tools like Unity’s Polybrush, grass can be scattered really fast and easily. This can also be applied to trees and rocks. The grass shader is based on the new HD RenderPipeline which allows advanced features like sub scattering for nicer visuals.
Here is a quick demo of using Polybrush scatter feature:

Helpful Unity Features
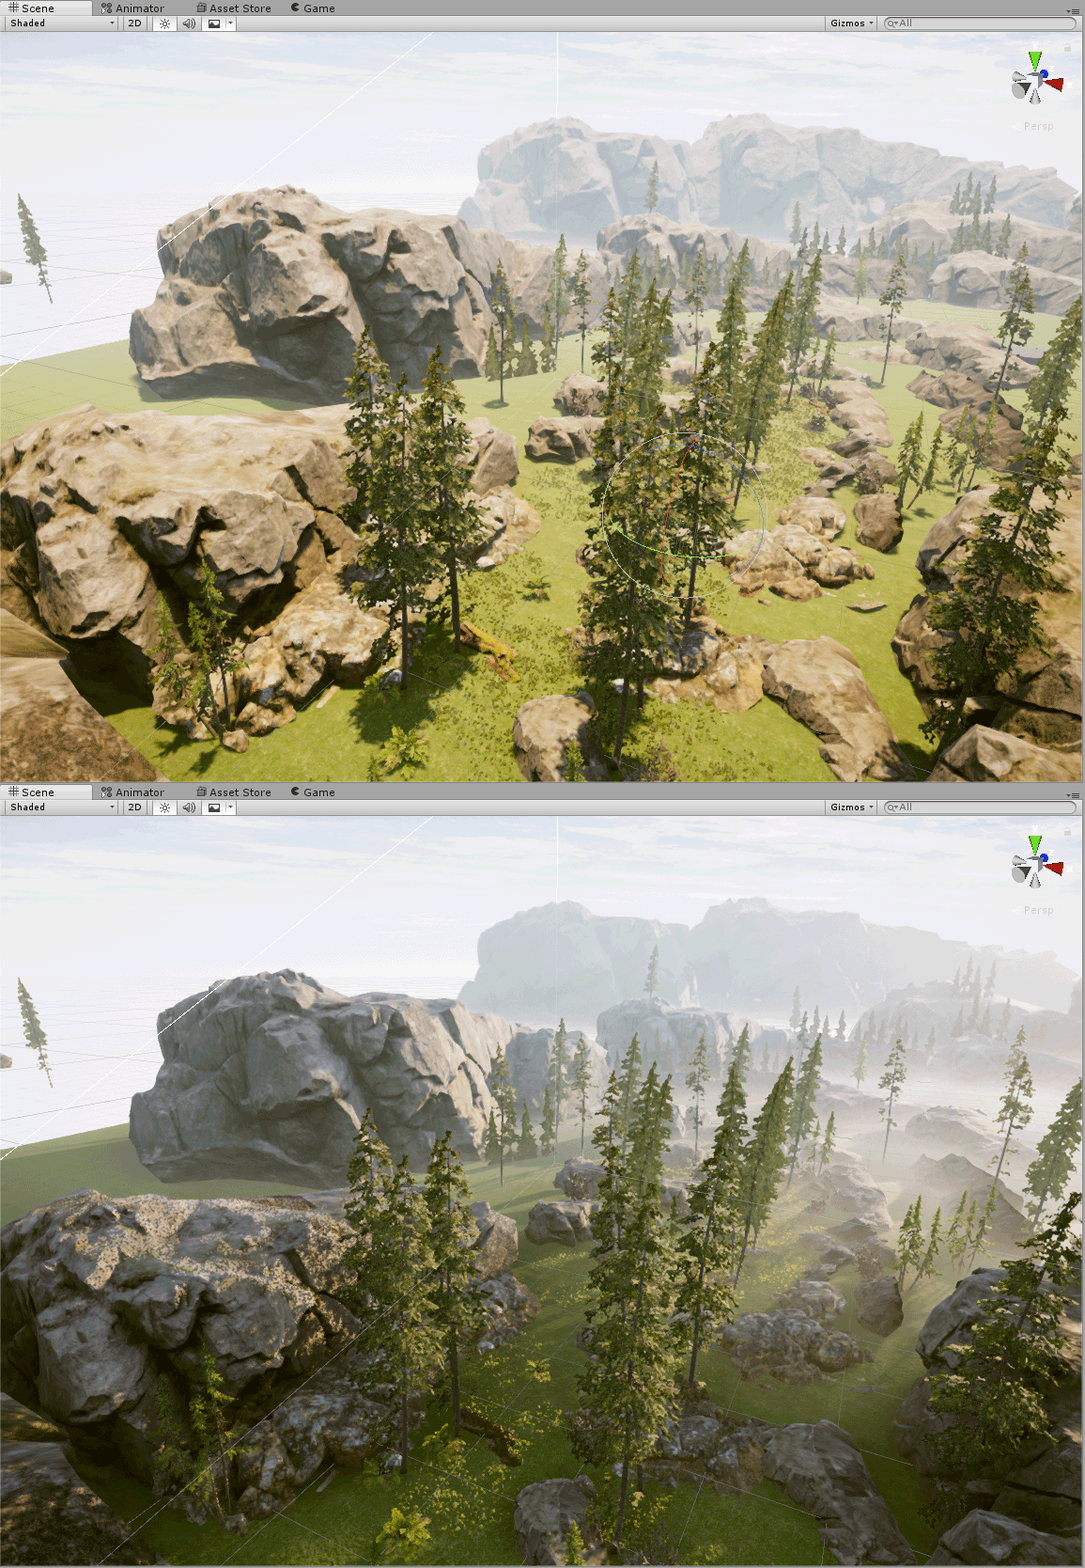
Some of the main features I used were Post Processing Stack, Cinemachine, Volumetric Lighting, and Environment fog. With the help of these I was able to hit the right color balance and atmosphere I was looking to achieve.
Cinemachine was used for creating different camera views. I use it in every project now to get real-time animated Unity game scene shots. It allows to set up different cameras and produce a nice walkthrough.
Volumetric lighting helps in creating light shafts:
This is a new feature of Unity3d engine and is now available in the latest update. It has a separate component for fog and volumetric.
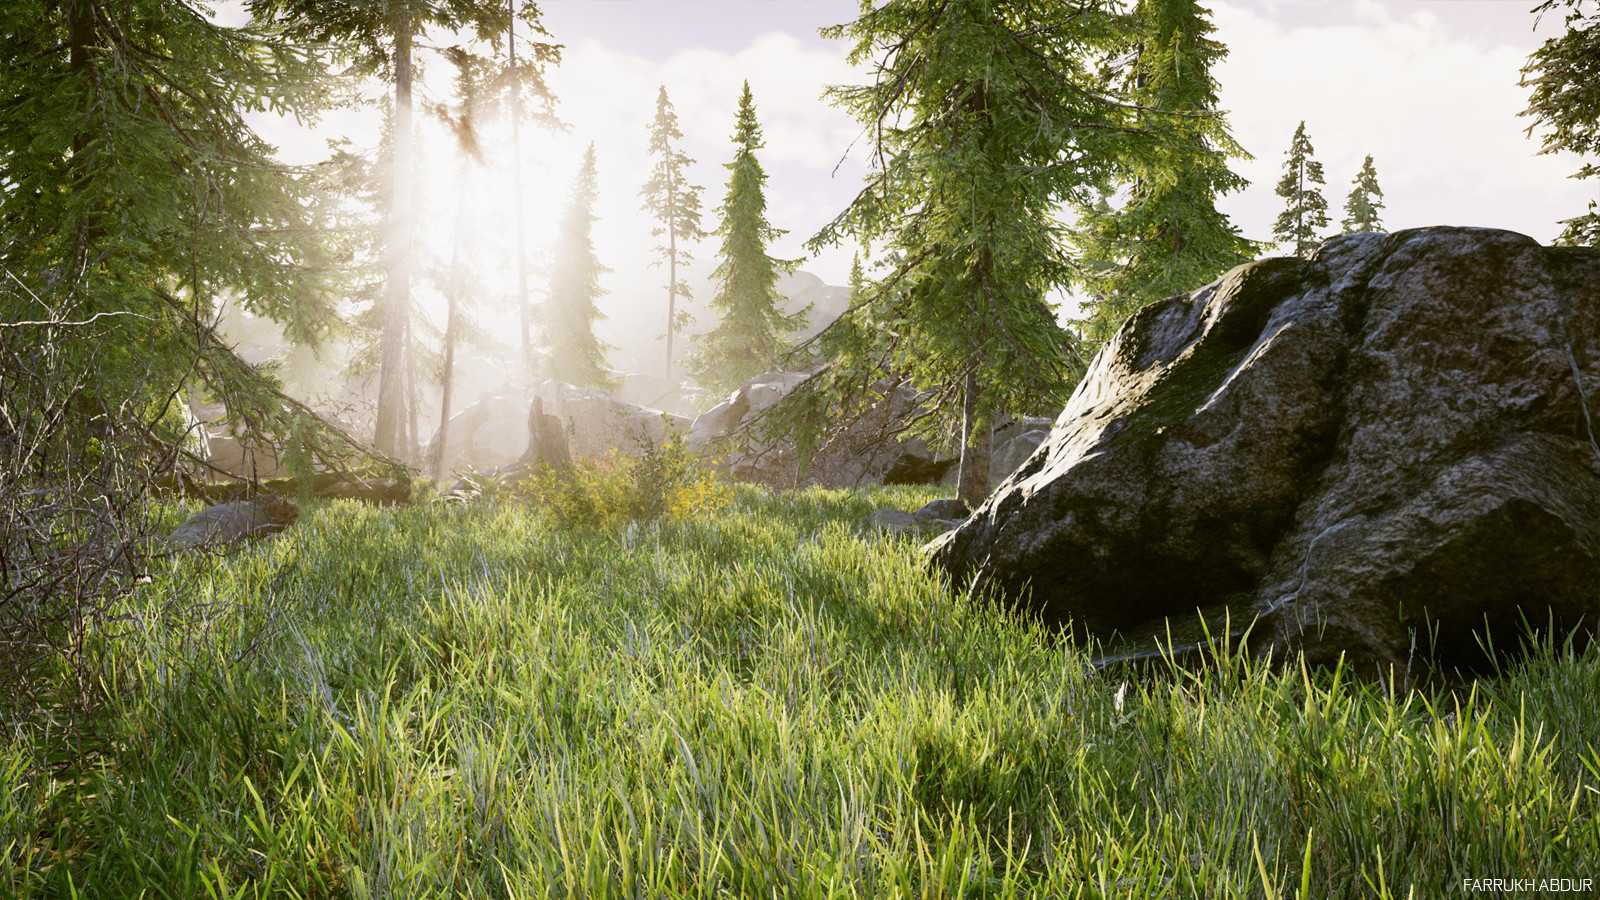
Post Processing Stack
This part is showing some of the color grading and other effects like bloom, tint, contrast etc. that have been used.

Lighting
In my case, the lighting I used is all real-time and produces results instantly. As I wanted to test different light conditions it was more suitable here. Otherwise, light can be also baked.
Vertex Animation Shader
The movement of trees, plants, and grass are controlled by a custom vertex shader which is now available in Unity. The vertex shader allows animation of certain parts with control, otherwise, another option would be to animate them manually and that can take more time to create.
Below is a link for an example Unity Project with Vertex Animation. It is freely available for download.
Here you can find more useful information about vertex animation shaders and plenty of examples of how to implement different effects.
Additional Resources
Some of the best learning resources are available on Unity’s Youtube Channel and Unity Asset Store. Recently released projects like FPS sample give a fairly good idea of level creation. Furthermore, for creating high-quality 3D assets, I would recommend studying projects like Book of the Dead I’ve mentioned before and Megascans website.
Once again, here is the list of resources I would recommend for anyone looking to start building environments and game levels:
I would like to thank Unity, Megascans for their great content creation applications. Also thanks to 80.lv for this opportunity to share this article.
Feel free to let me know about your comments or questions if you have any.
Thank you very much!